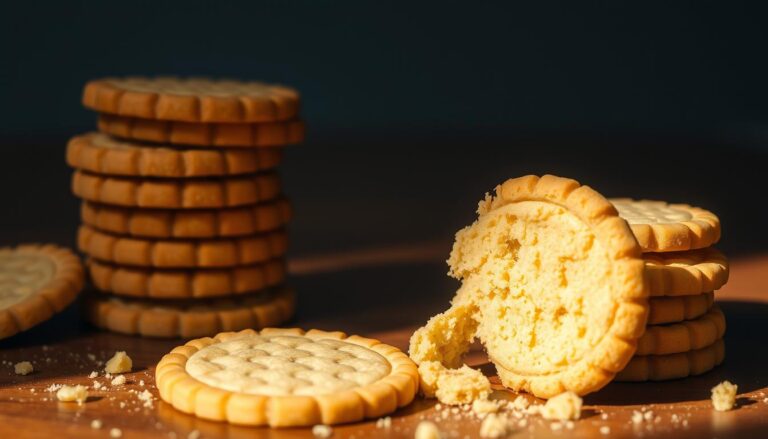
Vanilla Wafers Homemade: The Secret to Perfectly Crispy, Sweet Wafers
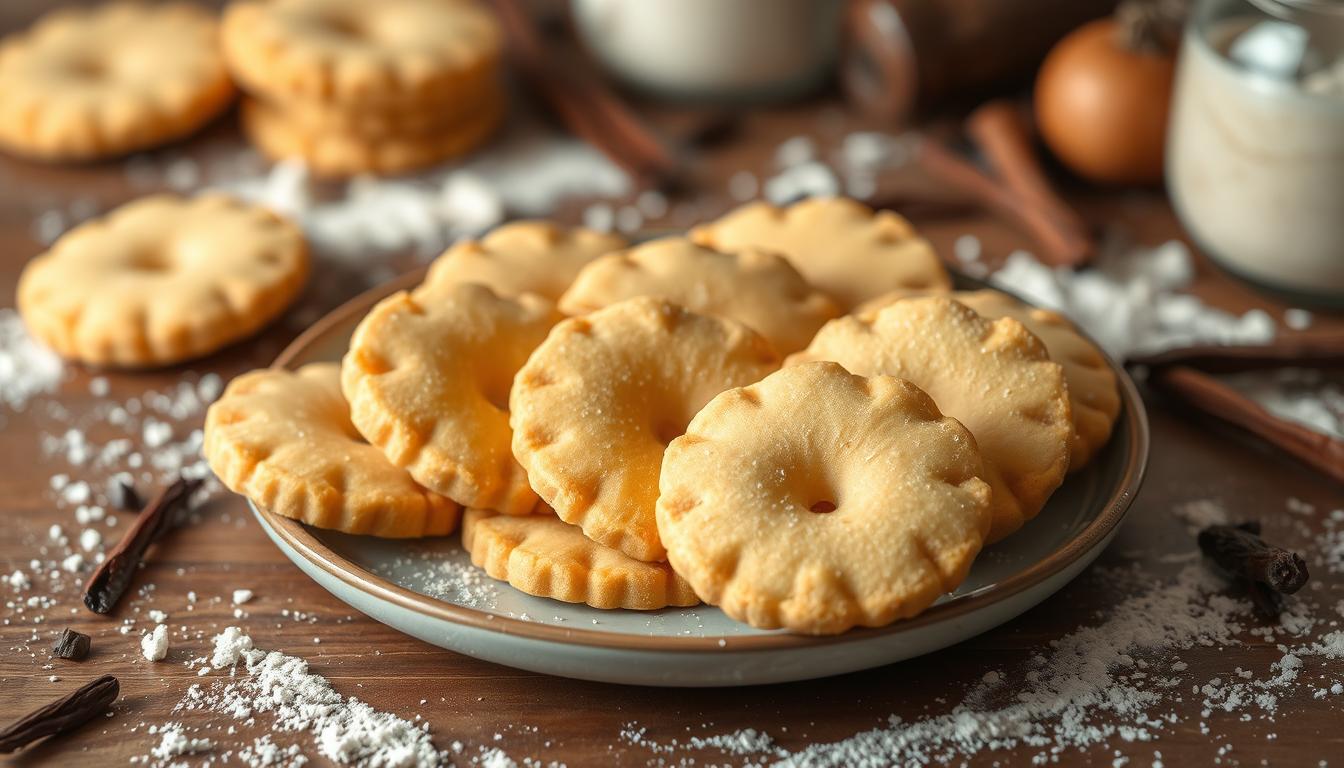
Making wafer cookies at home is fun and rewarding. You can use fresh ingredients and make them just the way you like. With the right techniques, you can make wafers that are crispy and sweet, better than store-bought ones.
Homemade vanilla wafers are fresher and of higher quality. This guide will teach you how to make delicious homemade vanilla wafers. You’ll learn how to make wafer cookies that will impress everyone.
The Rich History of Vanilla Wafers in American Baking
Vanilla wafer cookies have been a favorite in American baking for over a century. They first appeared in the late 19th century as a commercial product. Now, many people enjoy making their own wafer cookies at home.
Exploring vanilla wafers reveals a rich history tied to American culture. Vanilla wafer cookies have shaped the country’s dessert scene. Their crisp texture and sweet taste have made them a favorite for many.
Origin of the Classic Vanilla Wafer
The classic vanilla wafer was first made in the United States in the late 1800s. These early wafers were simple, made with flour, sugar, and vanilla extract. They were enjoyed as snacks or used in desserts.
Evolution from Commercial to Homemade
As baking in America grew, so did the vanilla wafer. Home bakers started to create their own versions, adding new flavors. Today, you can find many types of vanilla wafer cookies, from traditional to creative ones with chocolate and nuts.
Cultural Impact on American Desserts
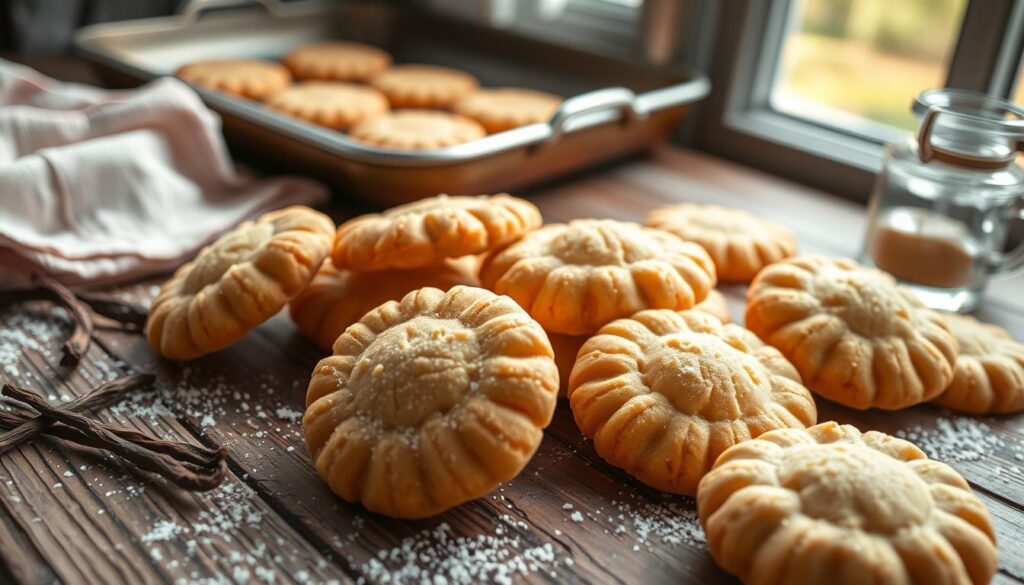
Vanilla wafers have greatly influenced American desserts. They’ve inspired many creations, like banana pudding and cheesecake crusts. Whether you’re an experienced baker or just starting, wafer cookies add a classic American touch to your baking.
Essential Ingredients for Perfect Vanilla Wafers Homemade
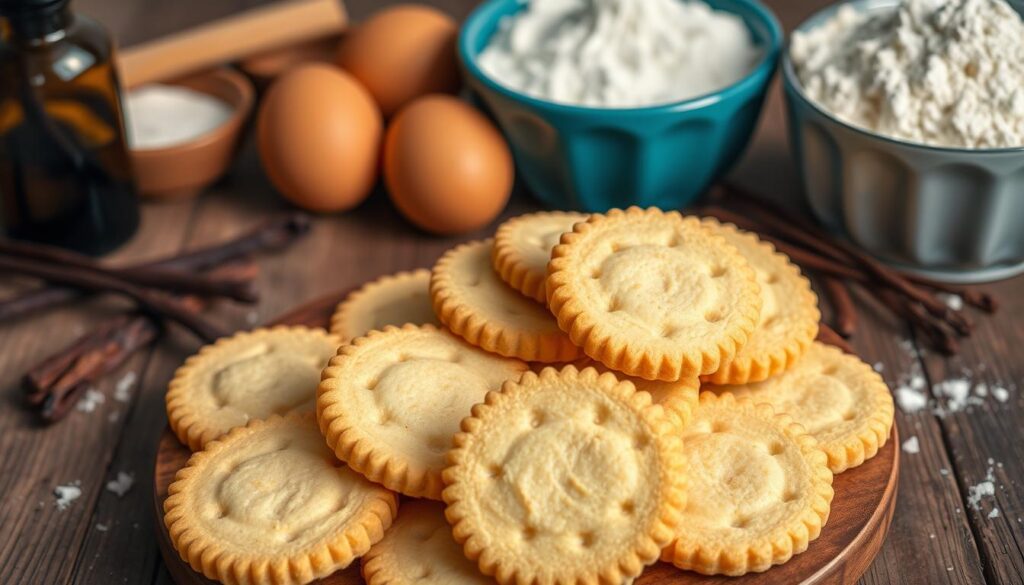
To make perfect vanilla wafers at home, focus on quality ingredients. A classic vanilla wafer recipe needs pure butter, top-notch vanilla, and exact sugar and flour amounts. Knowing each ingredient’s role helps you get the right texture and taste in your nilla wafer recipe.
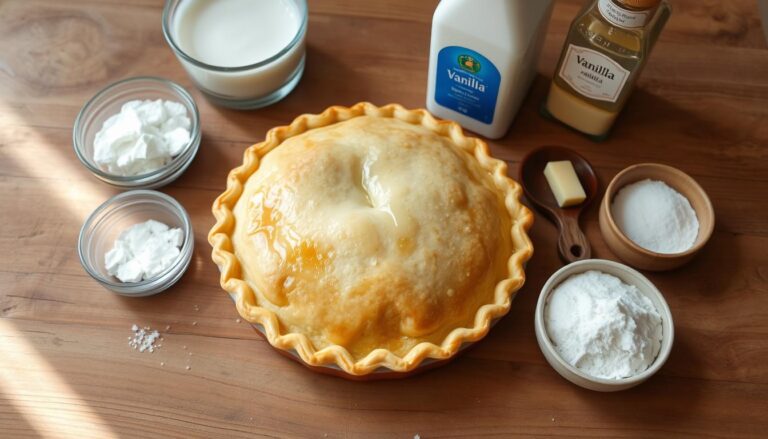
Here are the key ingredients you’ll need:
- 1 cup pure butter, softened
- 1 teaspoon high-quality vanilla extract
- 1 3/4 cups all-purpose flour
- 1/2 cup granulated sugar
- 1/4 teaspoon salt
With these ingredients, you can whip up a tasty and crispy vanilla wafer recipe. It’s great for snacks or desserts. Always choose high-quality ingredients and stick to your nilla wafer recipe for the best results.
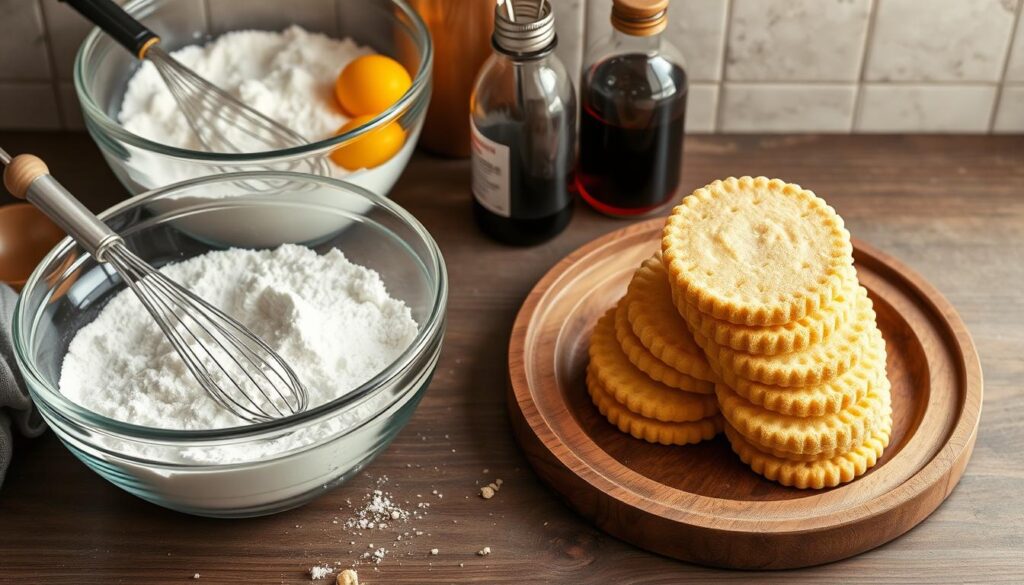
By following these tips and using the right ingredients, you can make amazing vanilla wafers homemade. They’ll impress your friends and family. So, why not try making delicious nilla wafers at home?
Kitchen Tools and Equipment You’ll Need
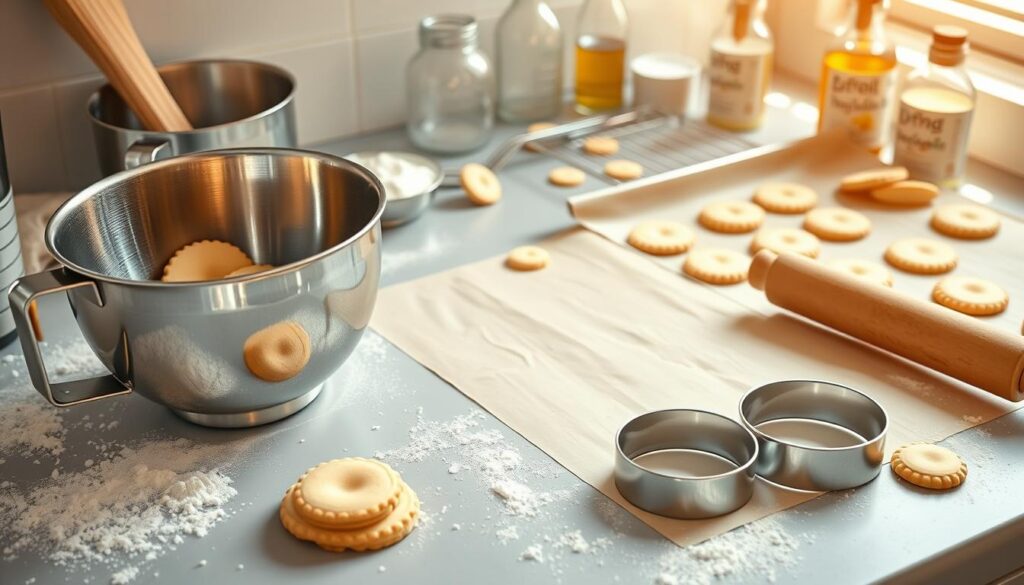
To make delicious vanilla wafers, you’ll need the right kitchen tools and equipment. Having a well-stocked kitchen with essential baking tools will make your baking easier. Whether you’re making a classic wafer cookie or trying chocolate wafer cookies, the right tools are key.
Some must-have baking tools include a mixer, baking sheets, and measuring cups. These tools help you mix, measure, and bake your cookies perfectly. You might also want to get a pastry brush or a silicone mat to improve your baking.
Must-Have Baking Tools
- Mixer: A stand mixer or handheld mixer is essential for creaming butter and sugar, and mixing wet and dry ingredients.
- Baking sheets: You’ll need at least one baking sheet to bake your wafer cookies. Consider investing in a silicone mat for easy cleanup and even baking.
- Measuring cups: Accurate measurements are key in baking. Invest in a set of measuring cups to ensure you’re using the right amount of ingredients.
Measuring Tools for Precision
To get the perfect mix of ingredients, you’ll need precise measuring tools. Think about getting a digital scale or a set of measuring spoons. With the right kitchen tools and equipment, you’ll be on your way to making delicious wafer cookies, including chocolate wafer cookies, that will impress everyone.
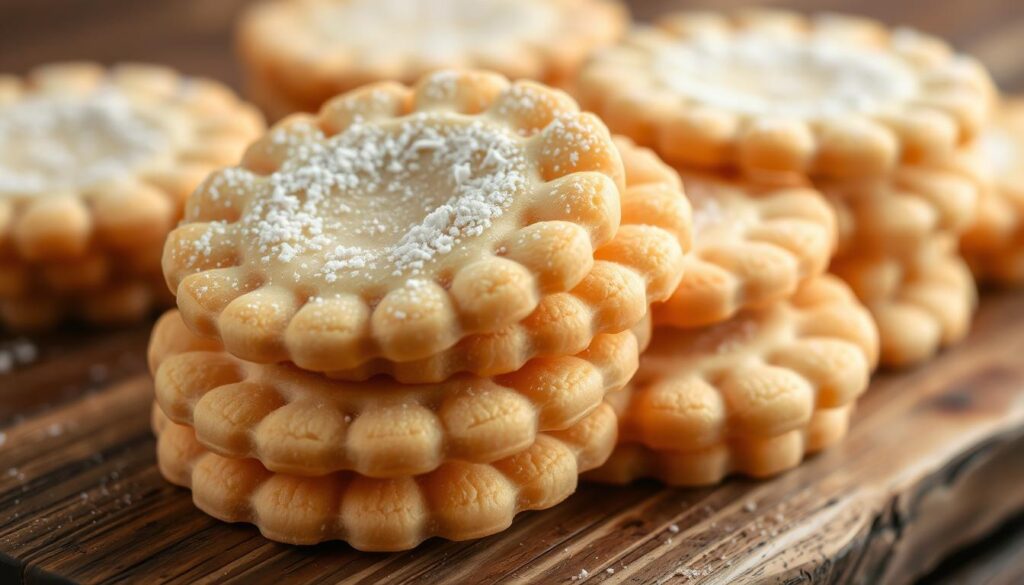
The Science Behind Crispy Wafer Cookies
To get the perfect crispiness in nabisco chocolate wafer cookies or vanilla wafers homemade, knowing the baking science is key. The mix of sugar, butter, and eggs is vital for the cookie’s texture. Leavening agents like baking powder or baking soda add to the wafers’ lightness and crispiness.
For the perfect crispiness, it’s important to understand the baking chemistry. The Maillard reaction, a chemical process, creates the golden-brown color and crispy texture. The temperature and baking time greatly influence the texture, as they control the chemical reactions.
- Understanding the role of leavening agents in achieving lightness and crispiness
- Controlling the temperature and baking time to optimize the Maillard reaction
- Using the right combination of ingredients to achieve the perfect balance of crunch and flavor
By learning these principles, you can tweak your recipe and method for the perfect crispiness. Whether you’re an experienced baker or just starting, knowing the science behind crispy wafer cookies will elevate your baking skills.
Step-by-Step Mixing Process
To make perfect wafer cookies, follow a step-by-step mixing process. This includes creaming butter and sugar, adding wet ingredients, and mixing dry ingredients right. These steps ensure your dough is ready for baking.
When making wafer cookies, knowing the right order and mixing techniques is key. The correct mixing process greatly affects the texture and taste of your cookies.
Creaming the Butter and Sugar
The first step is creaming butter and sugar together until they’re light and fluffy. Use room temperature ingredients and beat them for the right time to get the perfect consistency.
Incorporating Wet Ingredients
Next, add wet ingredients like eggs, vanilla extract, and other liquids to the mix. Mix these ingredients in the correct order and avoid overmixing the batter.
Adding Dry Ingredients Properly
Lastly, add dry ingredients like flour, baking powder, and others. Mix these ingredients in the correct order and avoid overmixing. Following these steps ensures your wafer cookies will be perfect every time.
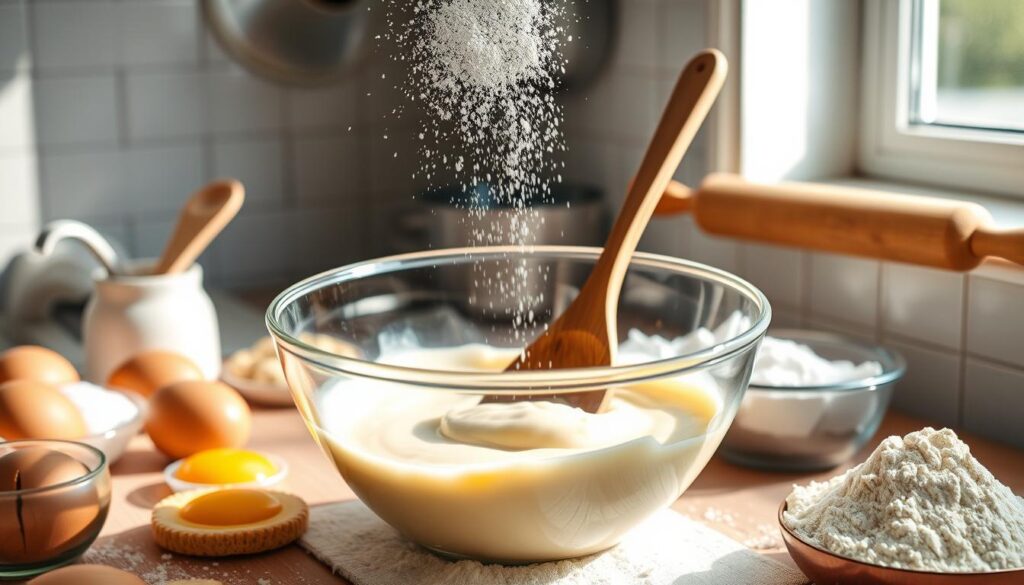
By following these steps and using the right mixing techniques, you can make delicious wafer cookies. Always use high-quality ingredients and follow the recipe carefully for the best results.
Proper Piping and Shaping Techniques
To make vanilla wafer cookies look great, you need to learn how to pipe and shape them. Knowing how to use a piping bag and pick the right tip is key. You can also try chocolate wafer cookies for a tasty twist.
Here are some tips to get you started:
- Choose the right piping bag and tip for your wafers. A round tip is ideal for creating uniform circles.
- Fill the piping bag with the right amount of dough to avoid overfilling or underfilling.
- Hold the piping bag at a 90-degree angle to the baking sheet and squeeze the dough out in a steady stream.
Shaping your wafers is also key. Use tools like a cookie scoop or spatula to shape them. For vanilla wafer cookies, circles or ovals work best. But, you can get creative with chocolate wafer cookies and make hearts or stars.
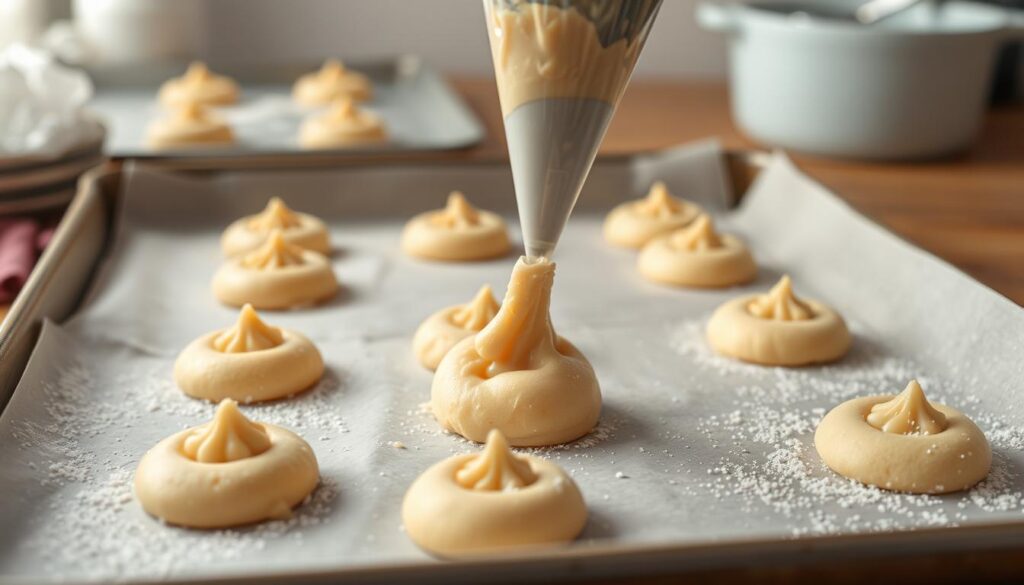
Remember, practice makes perfect. Don’t worry if your first batch doesn’t look right. With a bit of patience and practice, you’ll soon be making beautiful vanilla wafer cookies and chocolate wafer cookies.
| Wafer Type | Piping Tip | Shaping Tool |
|---|---|---|
| Vanilla Wafer Cookies | Round Tip | Cookie Scoop |
| Chocolate Wafer Cookies | Star Tip | Spatula |
Temperature and Timing: Keys to Perfect Baking
Baking vanilla wafers homemade needs the right temperature and timing. You must know the best oven settings and look for signs of doneness. Also, following cooling steps is important.
Making wafer cookie is all about precision. By getting the temperature and timing right, your wafers will be crispy and sweet.
Optimal Oven Settings
To bake vanilla wafers homemade perfectly, set your oven to 350°F to 375°F. This is the ideal range for wafer cookies.
Visual Cues for Doneness
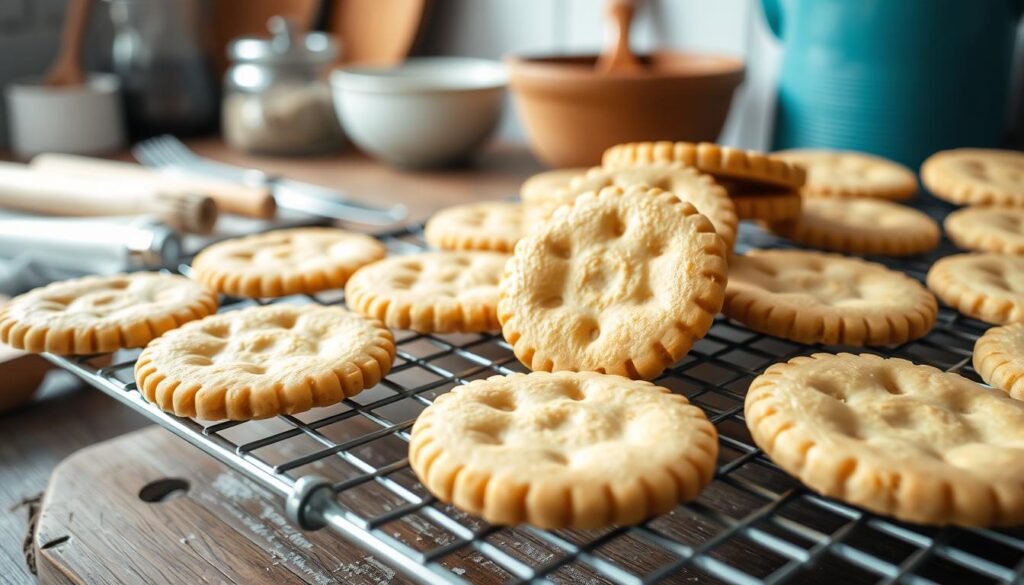
It’s key to check if your wafer cookie is done. Look for a light golden brown color and a crispy feel. You can also use a toothpick. If it comes out clean, the wafer is ready.
Cooling Process Guidelines
Cooling your vanilla wafers homemade is a must. Let them cool on a wire rack for at least 10 minutes. Then, store them in an airtight container.
Achieving the Perfect Texture and Color
To get the perfect texture and color in your vanilla wafer recipe, it’s key to know how ingredients and baking affect it. By tweaking ingredients and baking settings, you can fine-tune the texture and color.
Here are some tips for a nilla wafer recipe:
- Adjust the sugar to butter ratio for the right crispiness.
- Choose the right flour for light and delicate wafers.
- Control the baking temperature and time for a perfect golden color.
Follow these tips and try different ingredients and baking settings. This way, you can make a vanilla wafer recipe that suits your taste and texture. Always use top-notch ingredients and focus on the details. It really makes a difference in the final product.
Creative Flavor Variations
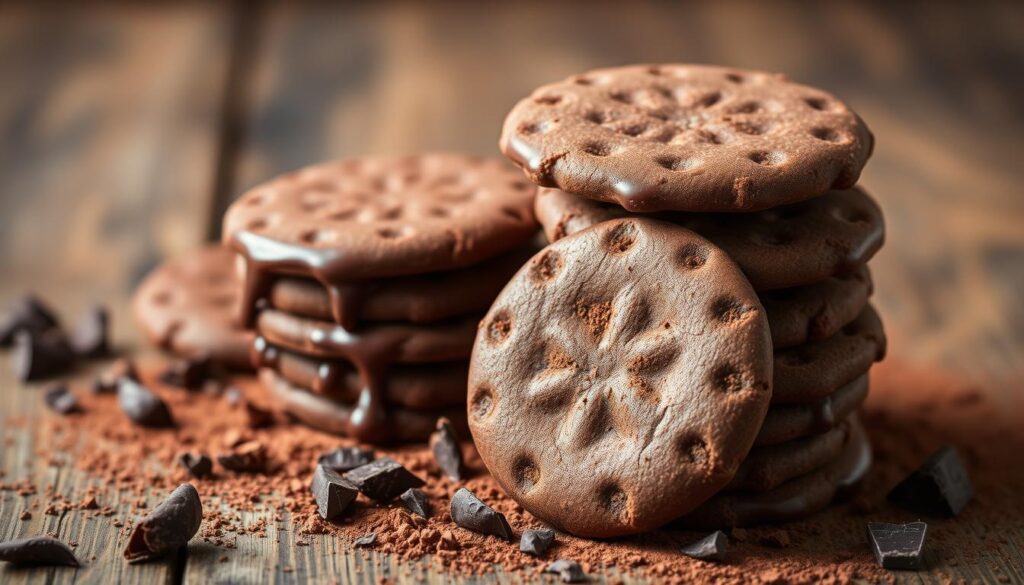
Making vanilla wafers at home lets you try new flavors. You can add a special touch to your wafers. For example, you can make chocolate wafer cookies by dipping them in chocolate. Or, you can add cinnamon or nutmeg for a unique taste.
Some favorite flavors include:
- Chocolate-dipped wafer cookies for a classic treat
- Spice-infused alternatives, such as cinnamon or nutmeg, for a warm and aromatic flavor
- Modern flavor twists, such as lemon or orange zest, for a bright and citrusy taste
When dipping your wafer cookies in chocolate, you can use different kinds. Try milk chocolate, dark chocolate, or white chocolate. You can also add nuts, sprinkles, or other toppings for extra taste.
Trying new flavors can lead to many tasty treats. These are great for snacks, gifts, or parties. So, don’t be shy to experiment and find your favorite wafer cookies recipe.
Storage Solutions for Long-Lasting Freshness
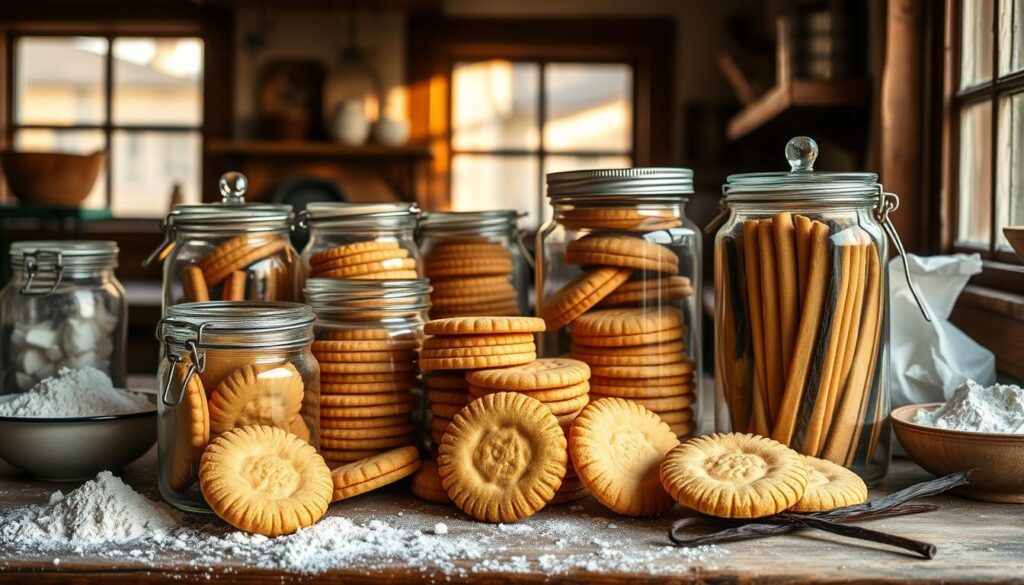
Proper storage is key to keeping your vanilla wafers homemade fresh. Use airtight containers to maintain their crispiness. These containers block air, moisture, and contaminants.
Here are some storage solutions you can use:
- Airtight containers: Perfect for storing vanilla wafers homemade at room temperature. Choose containers made for baked goods, with tight lids and moisture-absorbing packets.
- Freezer bags: Great for longer storage of how to make wafer cookies. Freezer bags keep air and moisture out and can be labeled and dated.
- Freezer containers: Another option for vanilla wafers homemade storage. These containers are made for frozen foods and keep wafers fresh for months.
Using these solutions helps keep your vanilla wafers homemade fresh longer. Always check for freshness before eating. Store them in a cool, dry place to preserve their taste and texture.
| Storage Method | Shelf Life | Pros | Cons |
|---|---|---|---|
| Airtight containers | 5-7 days | Easy to use, keeps wafers fresh | May not be suitable for long-term storage |
| Freezer bags | 2-3 months | Convenient, easy to label and date | May not be suitable for storing large quantities |
| Freezer containers | 3-6 months | Designed for frozen foods, keeps wafers fresh | May be more expensive than other options |
Common Troubleshooting Tips
When baking wafer cookies, like nabisco chocolate wafer cookies, problems can happen. It’s key to know how to fix them. These tips work for many wafer cookie recipes.
Fixing issues means spotting the problem and solving it. Here are some common problems and how to fix them:
Fixing Texture Issues
- Double-check your ingredient measurements.
- Adjust your baking time and temperature if needed.
Addressing Spreading Problems
- Use parchment paper or a silicone mat to prevent sticking.
- Chill your dough before baking to keep its shape.
Color Correction Methods
To get the right color for your wafer cookie, adjust your baking time. Watch your cookies closely. Take them out when they’re the color you want.
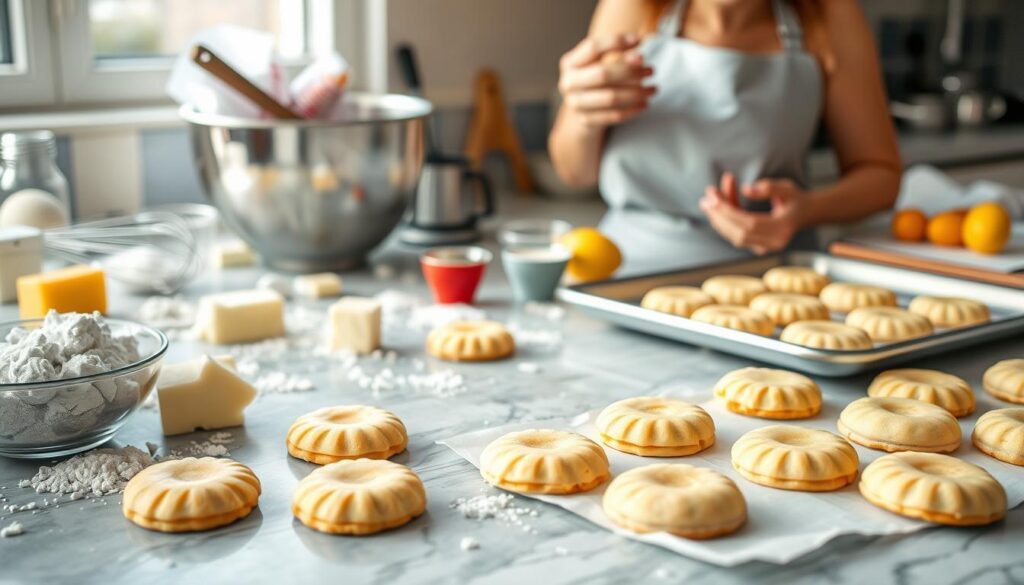
By using these tips, your nabisco chocolate wafer cookies will be perfect. Remember, baking needs patience and attention to detail.
Pairing Your Homemade Wafers
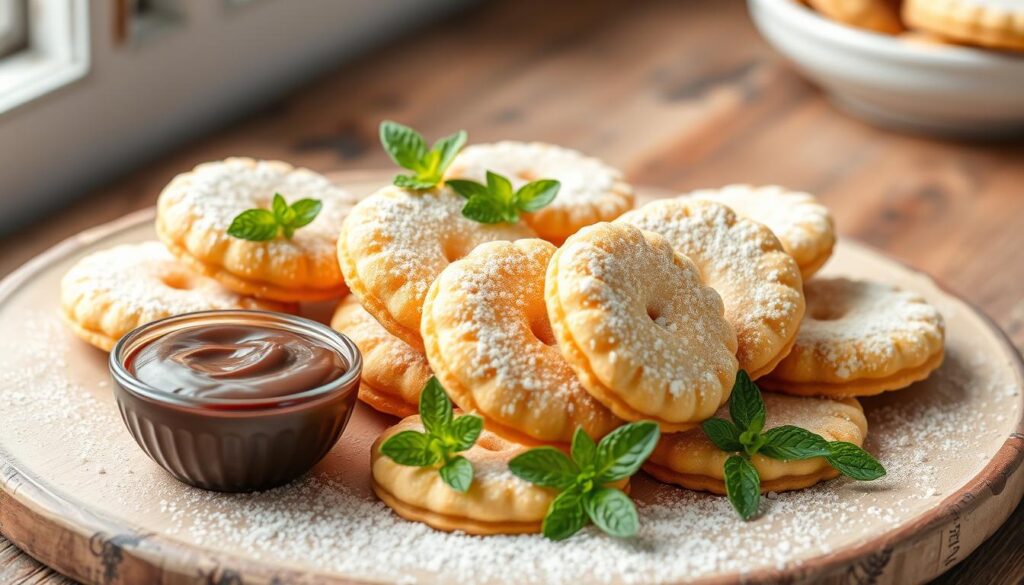
Enjoying your homemade vanilla wafer cookies is a treat. You can match them with many desserts, drinks, and treats. Try them with ice cream and chocolate sauce for a classic taste.
For something richer, pair your chocolate wafer cookies with cheesecake or fruit tart. The goal is to mix flavors and textures well. Here are some ideas:
- Ice cream and chocolate sauce
- Cheesecake and fresh fruit
- Fruit tart and whipped cream
- Hot coffee and caramel sauce
Don’t worry too much about what to pair. Just have fun and try different combinations. Your homemade vanilla wafer cookies and chocolate wafer cookies offer endless options.
Incorporating Wafers into Other Desserts
Now that you know how to make vanilla wafers homemade, it’s time to get creative. Think about adding them to other desserts. This brings new textures and tastes to classic treats.
Here are some ideas for using wafer cookies in other desserts:
- Classic banana pudding: crush your homemade wafers and use them as a topping or mix them into the pudding for added texture.
- Cheesecake crusts: use your homemade wafers as a base for your cheesecake crust, adding a delicious flavor and texture.
- Cookie crumb toppings: crush your wafers and use them as a topping for ice cream, yogurt, or other desserts.
These ideas are just the start. With a bit of creativity, you can make countless unique desserts. Your vanilla wafers homemade will impress everyone.

Don’t be shy to try new things with your wafer cookies. With practice, you’ll make desserts that everyone will love.
| Dessert | Ingredients | Instructions |
|---|---|---|
| Classic Banana Pudding | vanilla wafers, bananas, pudding mix | Mix pudding mix with milk, add sliced bananas and crushed wafers |
| Cheesecake Crust | vanilla wafers, cream cheese, sugar | Mix crushed wafers with cream cheese and sugar, press into pan |
| Cookie Crumb Topping | vanilla wafers, ice cream | Crush wafers and sprinkle on top of ice cream |
Making Memories with Your Perfect Batch of Vanilla Wafers
Mastering the art of baking homemade wafer cookies is rewarding. It’s not just about the taste. It’s about creating lasting memories and traditions.
Homemade vanilla wafers can bring people together. They’re perfect for passing down family recipes, surprising loved ones, or enjoying a nostalgic treat. Seeing the joy on a child’s face or the gratitude in a friend’s eyes is priceless.
These classic cookies have a special power. They evoke emotions and foster connection. With every bite, you relive cherished moments. Your homemade vanilla wafers become a part of your heart and history.

